Chestnuts: from husk to plate…

From chestnut in its husk to plate, or how to prepare chestnuts — peel them and cook them? Quite a programme, and a bit of time to spend on it, but given the price of good-quality chestnuts, it’s worth dedicating a little weekend to it. It’s like tomato coulis in summer. It keeps us busy for two days but gives us a quality product all year round. Ready? I’ll tell you how to save time removing the first skin, how to remove the second and, as a little bonus, how to make a chestnut cream.

It’s striking how the chestnut, in French, earns its stripes by becoming a marron. Mind you, that’s only true in theory, as horse chestnuts (marrons) aren’t edible. To tell them apart in the countryside, look at the husks. If they’re like hedgehogs, they’re sweet chestnuts.

Difficulty Accessible
Seasons & months
Chestnuts: from husk to plate…

Preparation

To always have vanilla sugar on hand...

Split two or three vanilla pods and put them in a jar with sugar. Top up the sugar as you need it, and every two or three months add one or two vanilla pods (I leave the old ones in for a good while, as they keep flavouring the sugar).

  1. Step 1

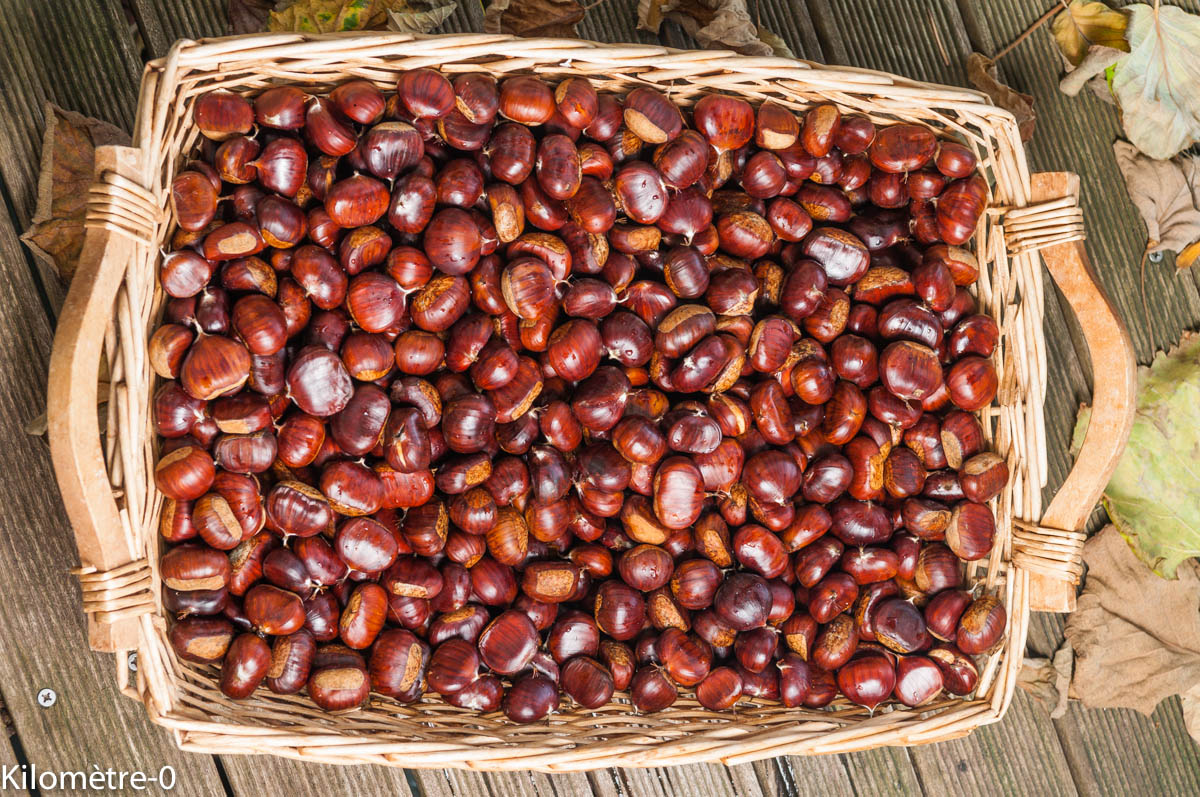
    Before removing the first skin, check they’re not maggoty. To do that, put them in a basin of cold water and throw out any that float. It won’t get rid of them all, but it’ll save you wasting time on ones that are no good anyway.

    To remove the first skin, you can leave them to soak overnight in water — the skin will be easier to remove.

    Another method: put the chestnuts on a small plate and microwave them for one minute at 750 W (you can also put them in boiling water for 10 minutes after making a cross-shaped incision on the underside of the chestnut).

    They’ll be much more supple. Still, I’d suggest putting a plaster under your forefinger, where the knife presses. You’ll understand what I mean after 50 chestnuts ^^. Also use a small, very pointed knife that cuts well.

    The chestnuts will harden again after a while. That’s why you should only put on the plate the quantity you can peel while the skin is still supple. Start with about fifteen and adjust to your speed.

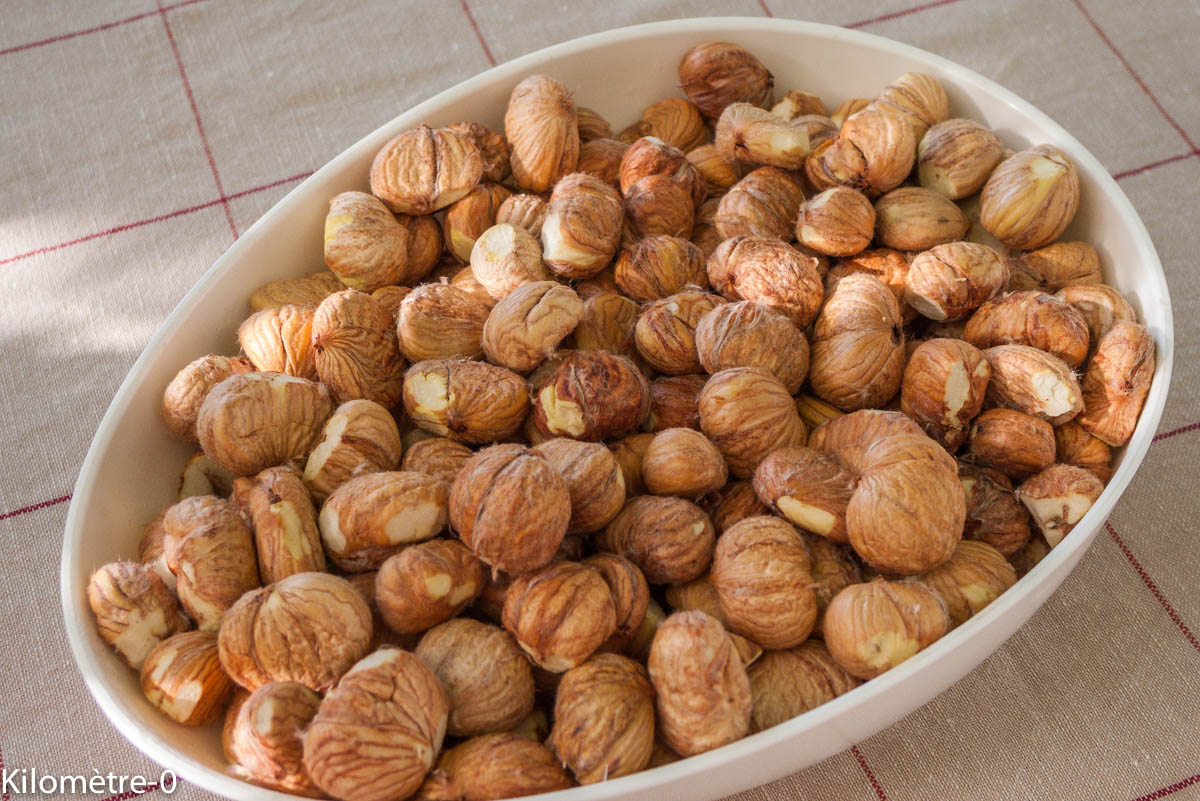
    Once the first skin is off, you can freeze them (you’ll remove the second skin when you use them) or remove the second skin to cook them.

    Chestnuts: from husk to plate…: step 1 — Before removing the first skin, check they're not maggoty.
  2. Step 2

    To remove the second skin, you have to cook them. Several methods are suggested: in water, steamed, vacuum-packed…

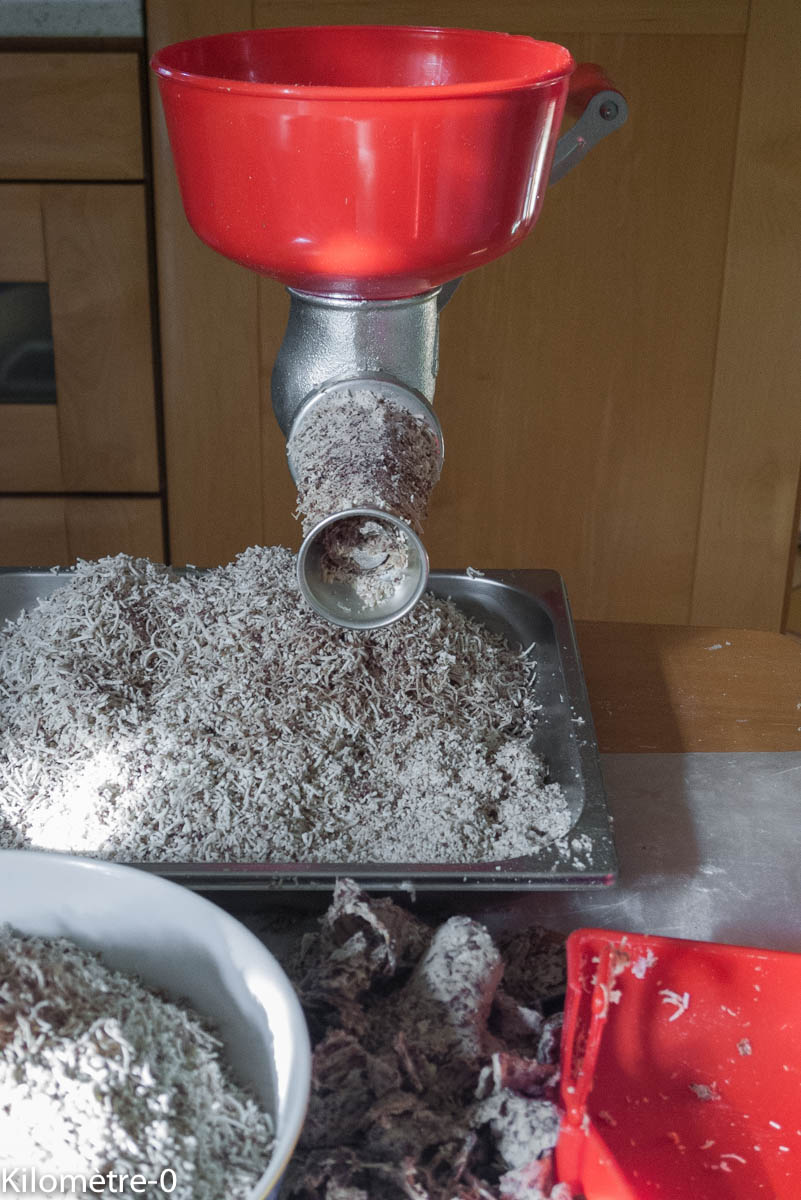
    I tried steaming. After an hour’s cooking, the chestnut looks better, but removing the second skin isn’t really easy, as it sticks to the chestnut. I bought a tomato and fruit deseeder meant to separate flesh and skin, but on this one it didn’t prove very effective… In short, I’d recommend neither steaming for big quantities nor the deseeder..

    I went back to the good old method. Drop the chestnuts into a pan of boiling water (gently, mind, so you don’t burn yourself) and cook them for 20 minutes, covered.

    Drain them and peel them without delay. You burn yourself a little at first, but you save time peeling.

    There’s the second step done. You can serve them as a side, in a soup, make a purée or even freeze them to use later.

    Chestnuts: from husk to plate…: step 2 — To remove the second skin, you have to cook them.
  3. Step 3

    To make a few well-deserved desserts once you’ve got this far, I’d suggest a chestnut cream sweetened the way I like it, that is, not too sweet.

    On the internet, you’ll find chestnut jam recipes you can keep in jars for several months. The advantage is having everything to hand for the Christmas log or Candlemas pancakes. Some contain as much sugar as chestnuts… Those who know me will guess those aren’t the ones I made.

    The one I’m suggesting is probably best used within the week. With a kilo of chestnuts, you’ll have enough for at least three lovely desserts. You can also keep some cream to go with your morning yoghurt… it’s nice and filling!

    Chestnuts: from husk to plate…: step 3 — To make a few well-deserved desserts once you've got this far, I'd suggest a…
  4. Step 4

    For the chestnut cream, you need 1 kg of chestnuts, 300 g of vanilla sugar and 80 cl of water.

    With a potato masher, a sieve or the deseeder, which gives a very good result here (not where you’d expect, but better than nothing!), mash the chestnuts or pass them through the sieve.

    Bring the water and sugar to the boil. Drop the chestnuts into the syrup and cook until it has the consistency of a cream. Add a little water if it gets too thick for the dessert you want to make. Otherwise, carry on cooking so the water evaporates. Careful, it will keep thickening as it cools.

    If you don’t have a sieve, you can also use a stick blender to blitz it all at this stage. Be careful not to burn yourself, though, as the syrup is boiling hot. Purists say the result is less good, but having tried it in desserts, it stays perfectly fine… what matters most is the quality of the product.

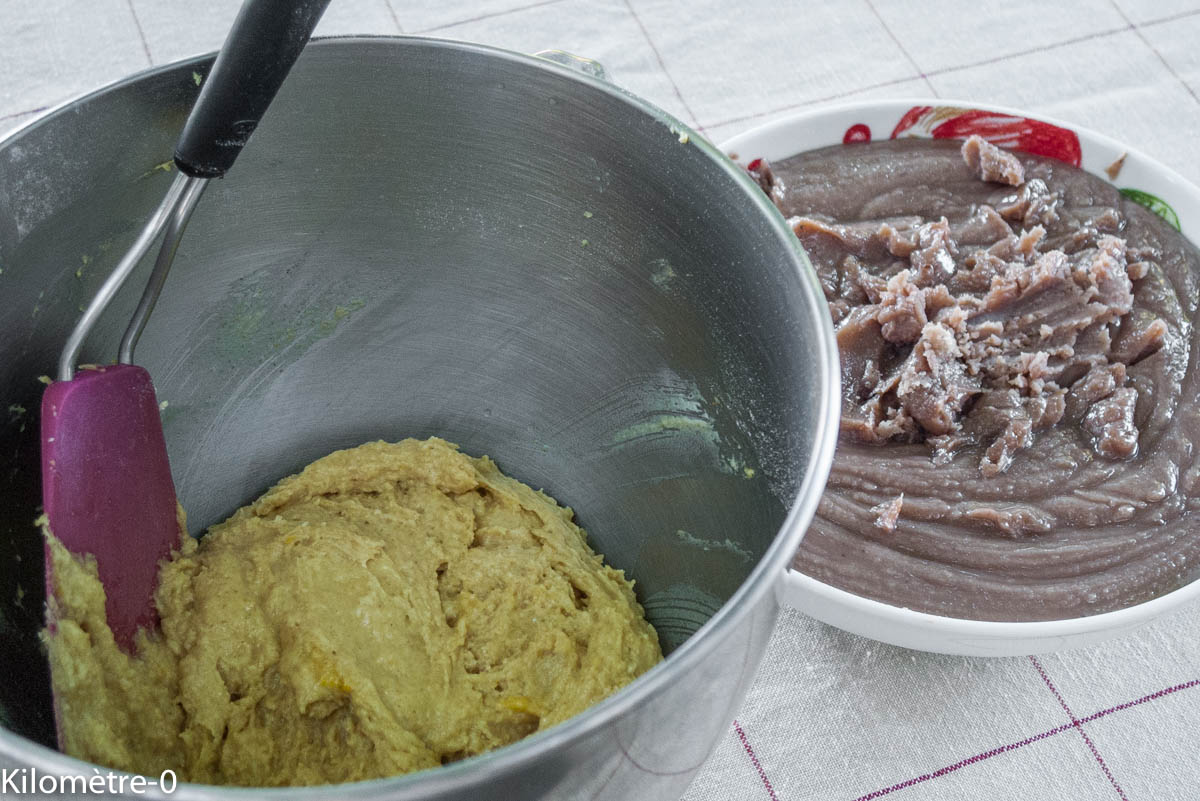
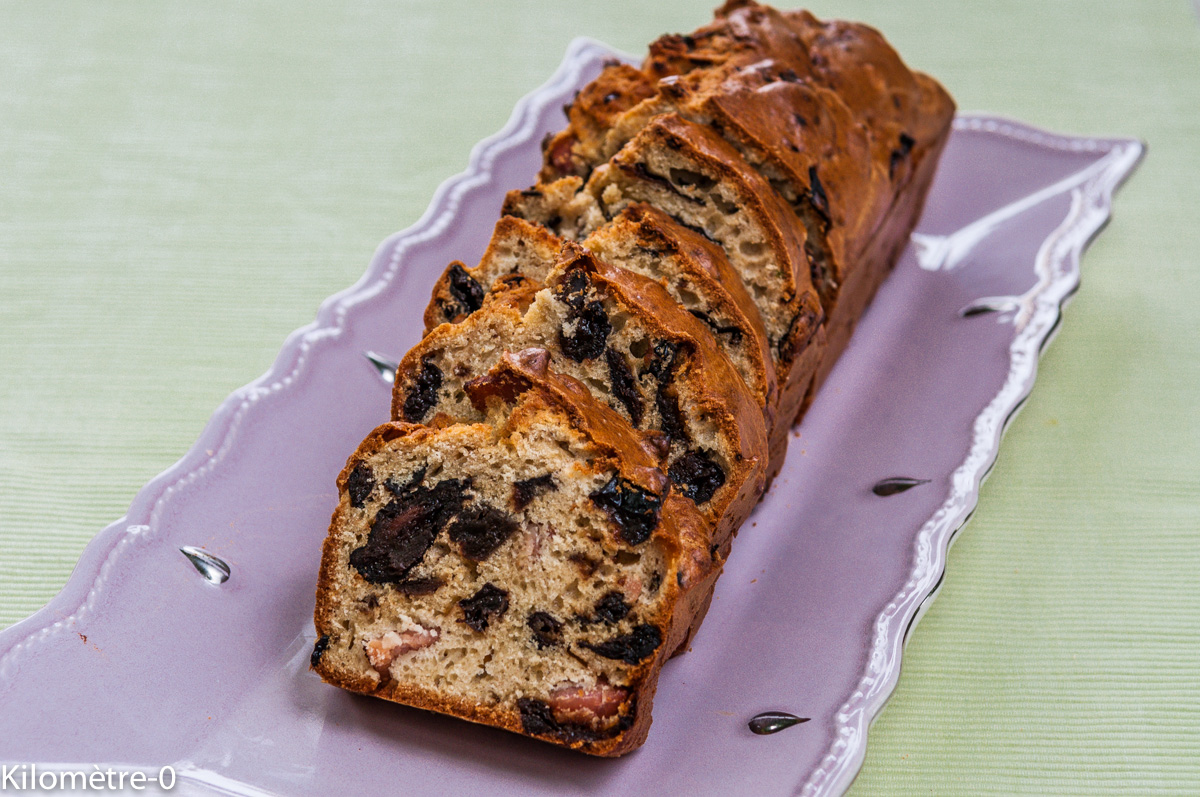
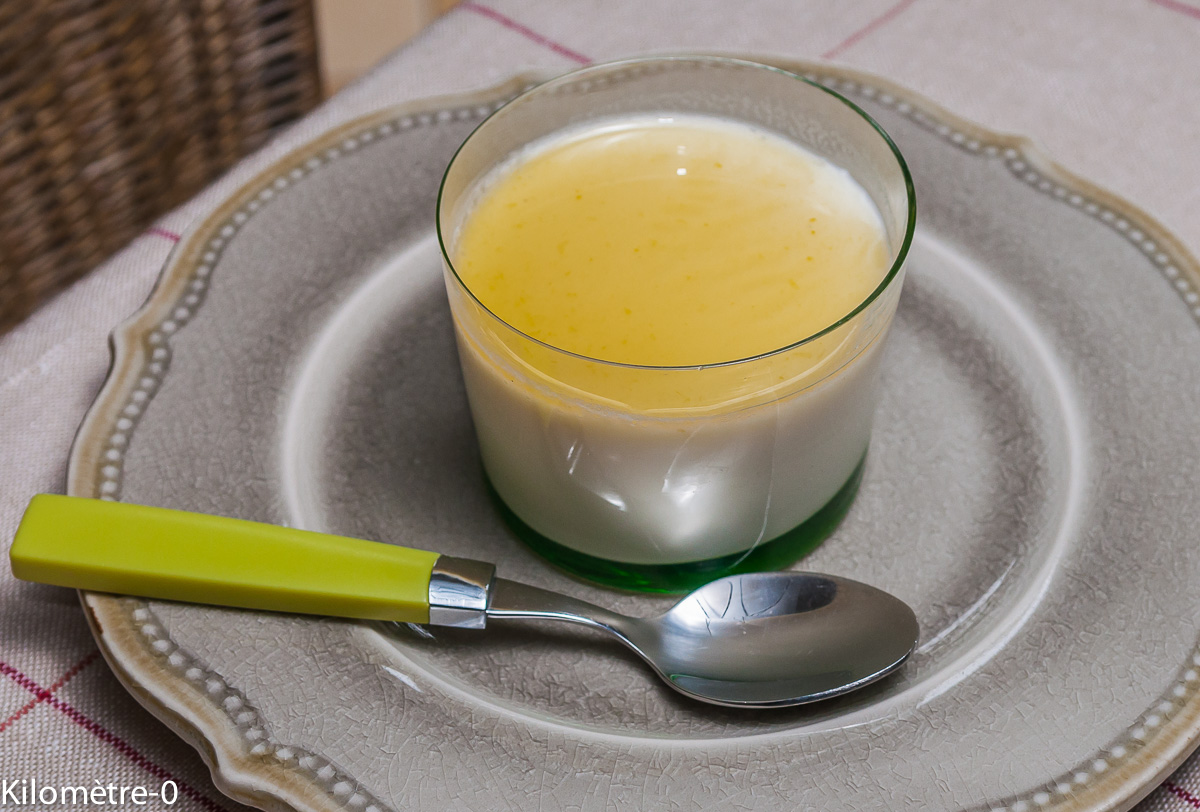
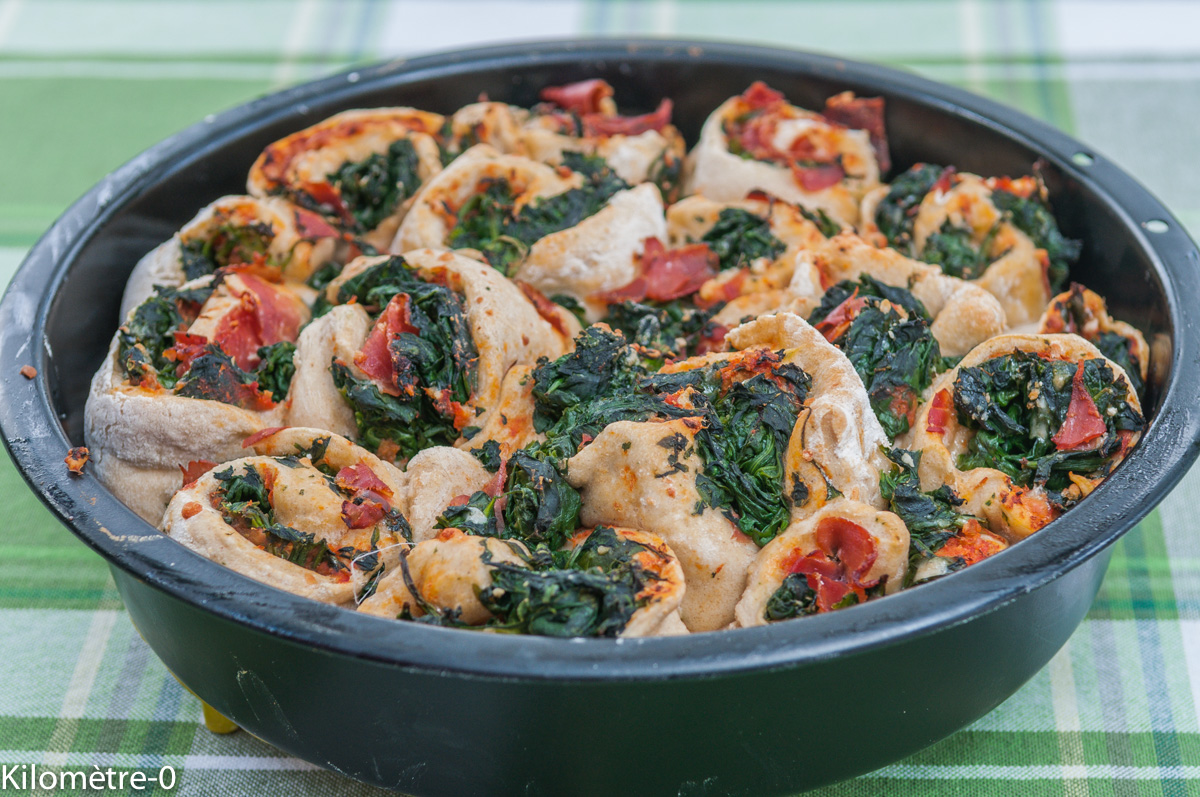
    Once you have your cream, choose your well-deserved dessert: chestnut cake, charlotte, tiramisu, muffin, pancakes or waffles, roulade, cheesecake…. Oh well, why not ^^ all things considered, you might make some again tomorrow ^^
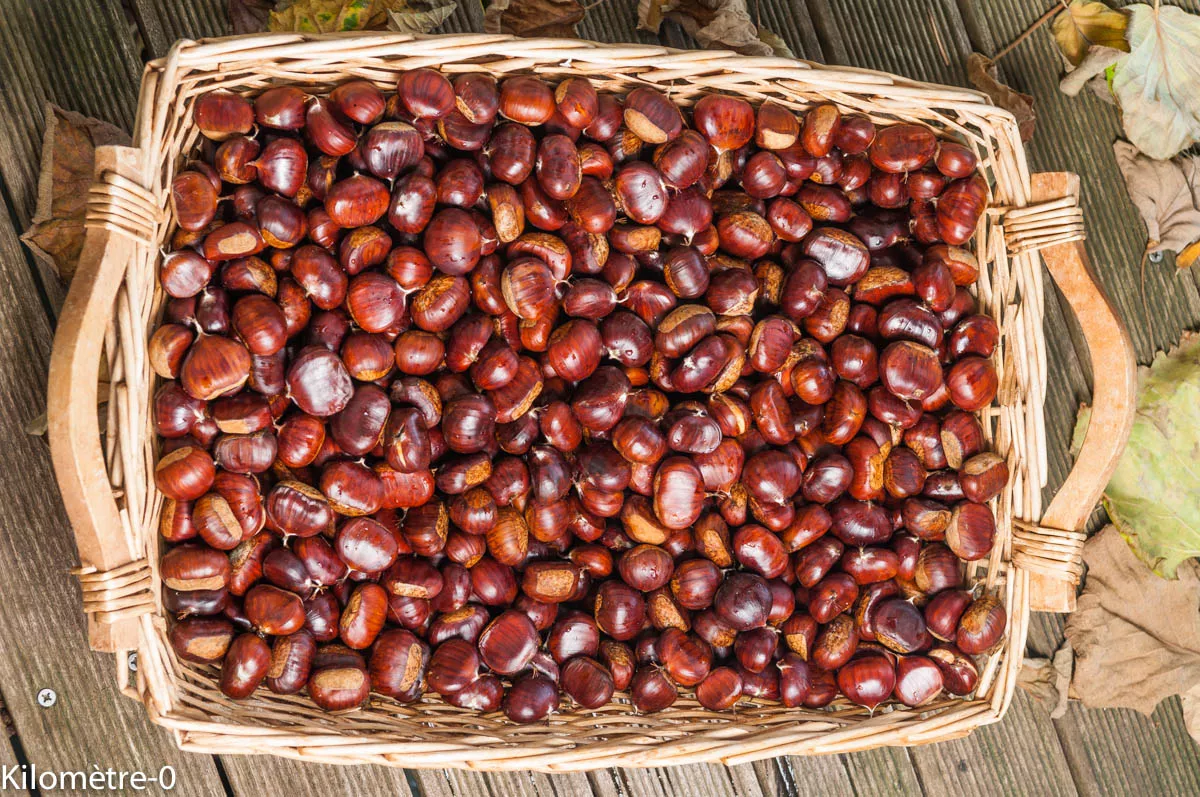
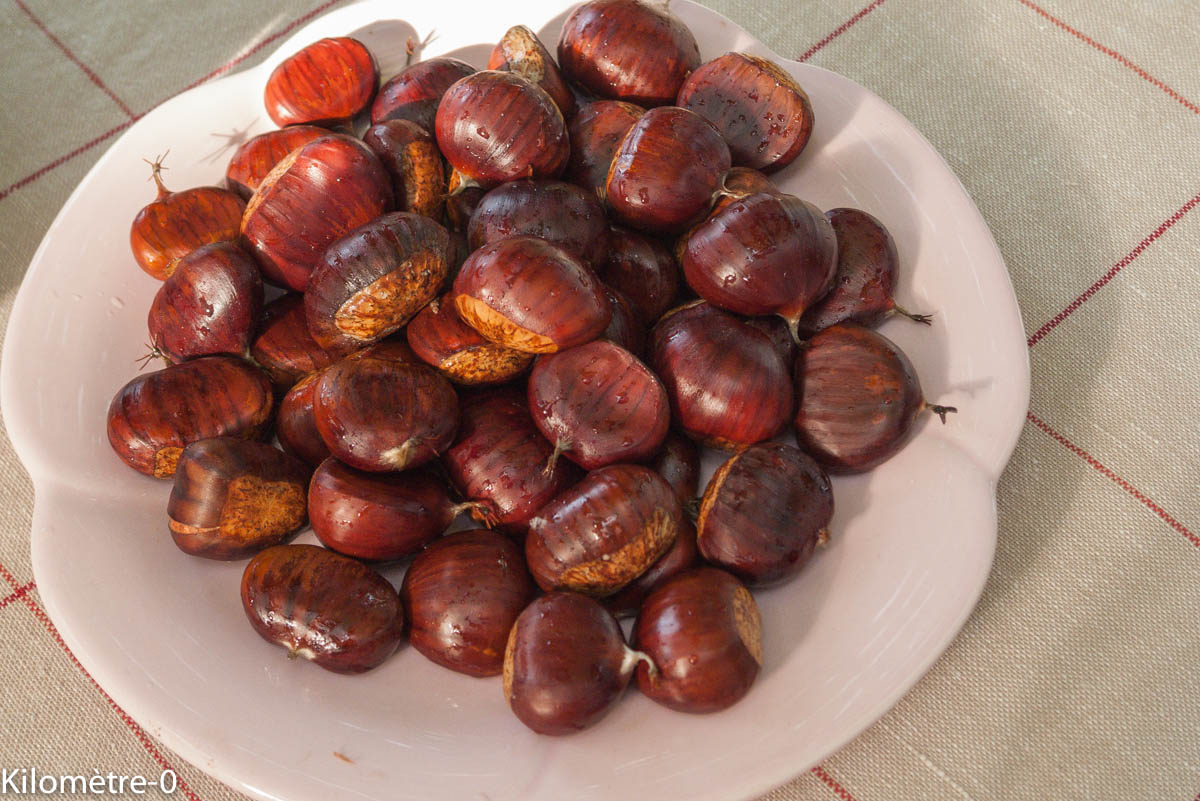
    Chestnuts: from husk to plate…: step 4 — For the chestnut cream, you need 1 kg of chestnuts, 300 g of vanilla sugar…

Recipe by

Martine Pineau

Published on 3 July 2026 All my recipes

Reviews & comments

Recipe rating

Your rating

Click a star to vote.

Rate this recipe from 1 to 5 stars

Leave a comment

Your email address will not be published. Required fields are marked with *